1) Tools & PPE — what you need (minimum)
Table of Contents
Toggle- 1) Tools & PPE — what you need (minimum)
- 2) Preparation (critical)
- 3) Step-by-step removal (overview)
- 4) Removing glued countertops (practical tactics)
- 5) Removing undermount sinks and attached hardware
- 6) Handling heavy stone — lifting & transport
- 7) Stain & spot removal recipes (stone-safe methods)
- 8) Scratch repair & small chips
- 9) Disposal, recycling, resale & regulations shaping the trade
- 10) Do’s & Don’ts — quick checklist
- Industry trends & regulatory context (short)
- FAQ — Top Google search FAQs (5 items)
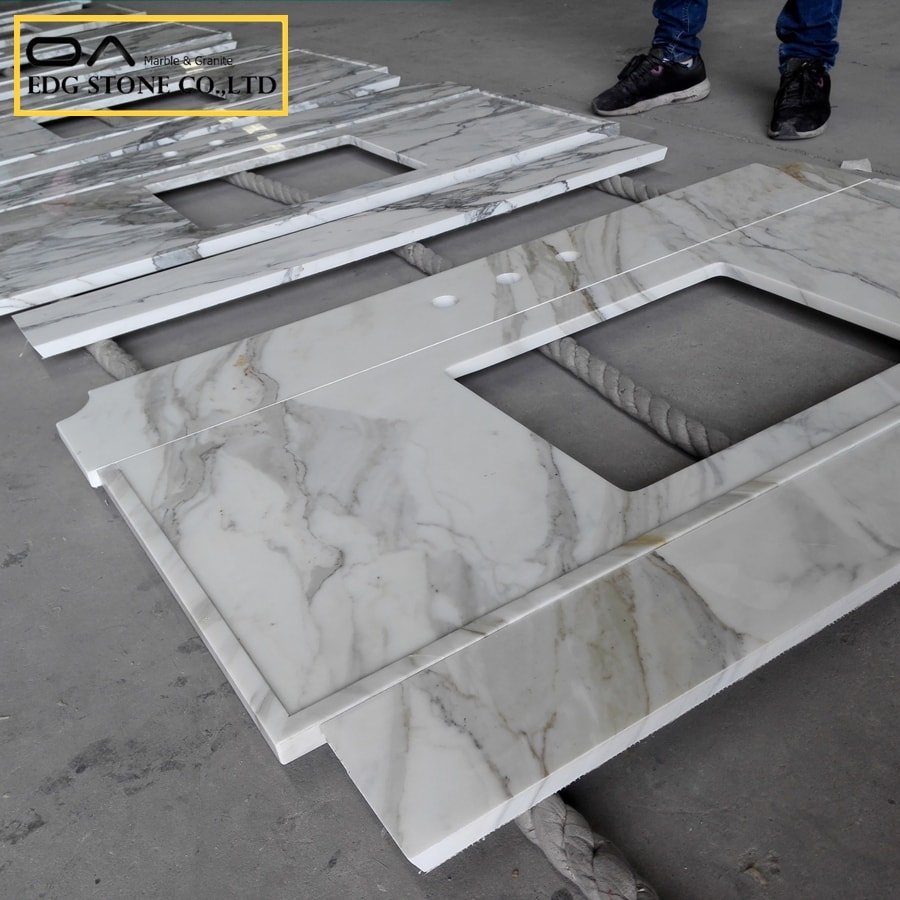
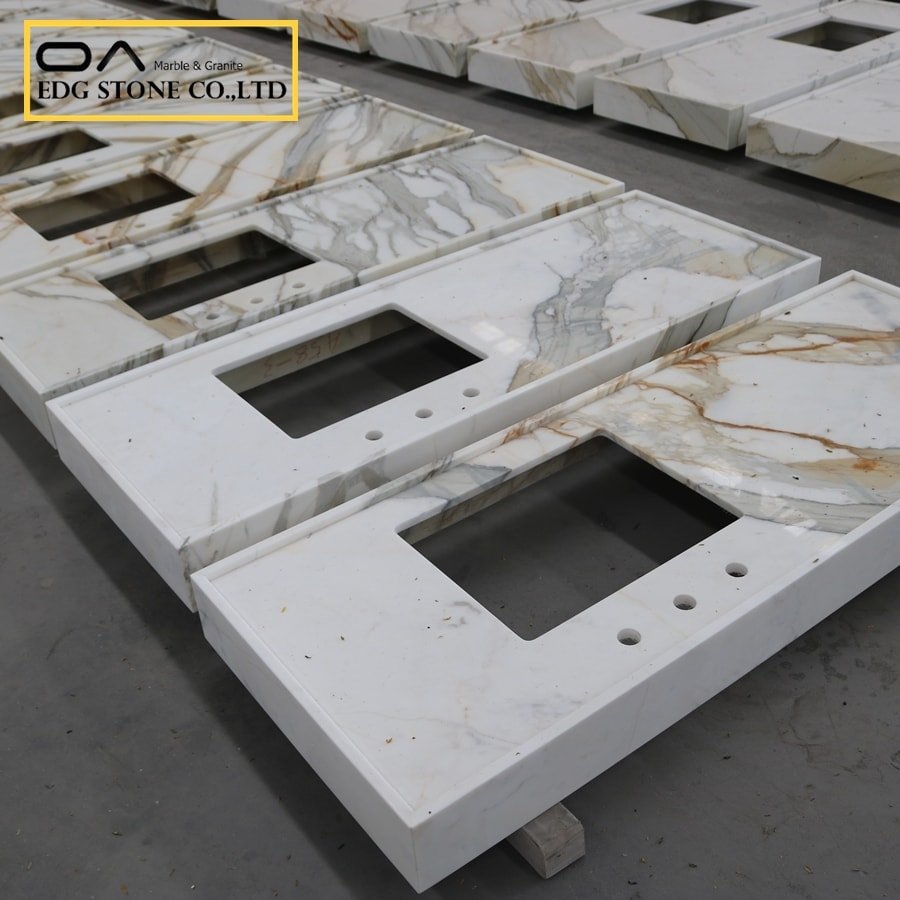
Safety: NIOSH-approved respirator (when dust may be generated), eye protection, gloves, ear protection, and steel-toe boots. Follow the employer’s respiratory program requirements.
Tools: pry bars, screwdrivers, oscillating multi-tool, thin-cut reciprocating saw blades, putty knives, tapcon/driver for backsplash anchors, hand saw for nails, 2–4 strong suction cups, adjustable straps, 2–4 helpers (or lifting equipment), heat gun, chisels, and rubber mallet.
Dust controls: water source for wet cutting, HEPA-filtered shop vacuum, drop cloths/plastic sheeting, containment barriers. NIOSH/OSHA emphasizes wet methods and HEPA vacuums to reduce silica exposure.
2) Preparation (critical)
Document: take photos from multiple angles — underside matters. Measure slab thickness and overall dimensions; note any seams or anchor screws.
Turn off & disconnect: electricity for garbage disposal, gas (if any) to stove, water supply lines to sink. Cap lines when disconnected.
Clear workspace: remove contents from cabinets and nearby cabinets; create a path to move the slab out. Protect floors.
Seal off area: use plastic sheeting and tape to create an isolation zone; use negative-pressure HEPA filtration if large cutting tasks will be done. This reduces dust migration (important because silica is regulated).
3) Step-by-step removal (overview)
These are sequential steps. Don’t skip planning — stone is heavy and unforgiving.
A. Remove backsplash and trim
Pry off backsplash tiles/stone carefully. Backslashes are often caulked or adhesive-set; score the caulk with a utility knife and use pry bars at the grout lines. Removing the backsplash first frees the top edge of the countertop and often reveals fasteners.
B. Disconnect sink & appliances
Turn off water → disconnect supply lines and drain trap → remove faucet if necessary → disconnect garbage disposal and remove it. For undermount sinks, support the sink from below and loosen the sink clips before lifting.
C. Cut caulk/adhesive seams
Score all caulk joints with a utility knife, and use an oscillating tool with a thin blade to cut the remaining caulk between the backsplash and counter, and between the countertop and wall.
D. Find and remove mechanical fasteners
Look inside cabinets under the countertop for screws, L-brackets, and anchor bolts. Remove all visible fasteners. Countertops are typically attached to cabinetry with lag screws or silicone/adhesive.
E. Deal with glued or adhesive installations (see next section)
Suppose the slab is adhesively bonded (common with undermount sinks and some factory fittings). In that case, the slab will not simply lift — you’ll need mechanical leverage, heat, adhesives, solvents, or cut the slab into smaller sections.
F. Lift carefully
Use suction cups and at least two experienced helpers (more for large islands). Lift straight up; tilt slightly to clear front overhangs. For slabs >100–150 lbs, use mechanical lifting gear. Keep the path clear. If the slab doesn’t budge, don’t force it — reassess for hidden fasteners or adhesive.
4) Removing glued countertops (practical tactics)
When a slab is bonded to cabinets or to an underlayment with construction adhesive or silicone, follow these techniques in order of least invasiveness to most:
Score the joint: run an oscillating multi-tool along caulk/adhesive lines to break the bead.
Apply heat: a heat gun softens many adhesives — but do not overheat engineered quartz (glue or polymer may off-gas); use moderate heat and avoid open flame.
Use solvent: for cured adhesives, apply an appropriate solvent sparingly (acetone, mineral spirits, or commercial adhesive removers). Test on an inconspicuous area first. Ventilate.
Mechanical leverage: slide a thin pry bar and use wood blocks to protect cabinet tops. Apply steady, even pressure across multiple access points to prevent point loading (which cracks stone).
Sectioning: as a last resort, cut the countertop into smaller, manageable sections using a wet saw with a diamond blade — but cutting in situ creates dust and should be done per OSHA/NIOSH controls (wet cutting + HEPA vac).
5) Removing undermount sinks and attached hardware
Support the sink while undoing mounting clips. If the sink is glued to the underside, use an oscillating tool or pry pad to gently break the adhesive bond. For composite or ceramic sinks glued to stone, be careful — force can crack the sink or the stone.
6) Handling heavy stone — lifting & transport
Granite/quartz slabs can exceed several hundred pounds. Use 2–6 strong people or mechanical lifters. Always use suction cups, lifting straps, and carry the slab on edge (not flat). Protect slab edges with foam. If you need to cut the slab for removal, prefer cutting at the factory before installation; on-site cutting risks damage and hazardous dust.
7) Stain & spot removal recipes (stone-safe methods)
General principle: identify stone type. Avoid acids on calcareous stones (marble, some limestones). For most engineered quartz, solvents like acetone dissolve organic residues, but test first. The Natural Stone Institute describes poultices as a universal, controlled way to lift many stains.
Superglue / CA glue
Method: soak a cotton pad with pure acetone (nail-polish remover) and hold in place with plastic wrap for 10–60 minutes; then gently scrape with a plastic scraper. Rinse & reseal area if necessary. (Test first.) Sources: industry fabricators.
Rust stains
For quartz/granite: make a baking-soda paste (baking soda + water), apply, let sit 10–30 minutes, scrub gently. For stubborn iron stains, specialized rust removers for stone or a poultice with an oxidizing agent (hydrogen peroxide) can work — follow manufacturer guidance.
Oil/grease stains
Acetone or mineral spirits for oil stains; poultice with a degreaser (cornstarch or diatomaceous earth + acetone) left under plastic for 24–48 hours, then remove. For natural stone, use non-acidic options.
Permanent marker
Try isopropyl alcohol (70–99%) or acetone applied briefly; avoid scrubbing, then neutralize and rinse. For porous natural stone, a poultice with a water-based solvent may be safer.
Water marks/rings
Clean with pH-neutral stone cleaner and buff dry. For etched or hazy marks on marble, professional honing/polishing may be required. See Natural Stone Institute guidance.
Important: when in doubt, consult your stone fabricator or a stone-care professional — incorrect chemicals (acids, bleach) can permanently etch marble or damage sealers.
8) Scratch repair & small chips
Minor scratches on polished granite/quartz: use a stone polishing compound or manufacturer-recommended repair kit. For deeper scratches or chips, use a color-matched epoxy or professional resin repair; then sand and polish. For marble, consider honing and repolishing by a pro.
9) Disposal, recycling, resale & regulations shaping the trade
Reuse & resale: intact granite/quartz slabs have resale value — check with local stoneyards or salvage dealers.
Waste handling & environment: slurry and dust must be managed (wet slurry capture, no dry sweeping). Many jurisdictions regulate silica dust and construction waste handling. OSHA and NIOSH require engineered controls and written exposure plans for workers exposed to respirable crystalline silica; employers must use water suppression and HEPA vacuums when cutting/grinding.
Regulatory pressure: California lists respirable crystalline silica under Proposition 65 (warning requirement), and EU/UK policymakers have scrutinized engineered stone due to silicosis outbreaks — industry is adapting with stricter controls and, in some debates, calls to limit certain engineered stone uses. These policy shifts affect manufacturers, factories, and installers — prompting investments in wet tools, onsite HEPA systems, and worker medical surveillance.
10) Do’s & Don’ts — quick checklist
Do:
Use wet cutting or HEPA vacuums when making any cut.
Score and remove caulk before prying.
Disconnect all utilities first.
Bring enough helpers and lifting gear.
Don’t:
Don’t dry-sweep (creates respirable silica dust).
Don’t pry at one point – distribute force to avoid cracking.
Don’t use acidic cleaners on marble or soft calcareous stones.
Industry trends & regulatory context (short)
Regulators worldwide are focusing on worker safety in stone fabrication and on-site cutting. OSHA’s respirable crystalline silica standard and NIOSH engineering recommendations emphasize wet methods, HEPA vacuums, and written exposure plans; states like California require Proposition 65 warnings for respirable crystalline silica; the UK and EU are actively discussing stricter controls for engineered stone due to recent silicosis clusters. If you’re a manufacturer/factory, expect stronger buyer requirements for documentation of safe fabrication and transport procedures.
FAQ — Top Google search FAQs (5 items)
Below are five high-value FAQs that match Google intent. The visible text appears first; the same Q&A is replicated below as JSON-LD so Google can use the structured content unchanged.
Q1: How do I remove a quartz countertop without breaking it?
A1: Score all caulk lines, disconnect sink and appliances, remove mechanical fasteners inside cabinets, free the backsplash, and then use multiple suction cups and at least two helpers to lift. If bonded with adhesive, use an oscillating multi-tool to cut the adhesive bead, apply moderate heat if needed, and use solvents sparingly. Always use water suppression and HEPA vacuums when cutting or grinding to control dust and follow respirator guidance.
Q2: How to remove a countertop that is glued on?
A2: Cut the adhesive with an oscillating tool, soften the adhesive with heat (heat gun) when safe, apply a compatible solvent for that adhesive type, and use prybars with wood protection to separate the slab. As a last resort, section the slab using a wet diamond blade saw following dust-control rules.
Q3: How to remove stains (superglue, rust, oil) from stone countertops?
A3: Use acetone for superglue (hold with wrap and scrape), baking soda poultice or specialty rust remover for rust stains, and acetone or mineral spirits poultices for oil stains. For porous natural stone, use a poultice (absorbent + solvent) per Natural Stone Institute guidance. Test first and reseal afterward if needed.
Q4: How to remove a kitchen countertop and sink safely?
A4: Turn off water and power, disconnect drain and dishwasher lines, remove sink clips and/or unscrew undermount brackets, support the sink while releasing clips, then follow countertop removal steps to lift the stone. For undermount sinks attached with structural adhesive, expect extra effort to separate and consider cutting adhesive lines with an oscillating tool.
Q5: How to remove scratches from stone countertops?
A5: Light scratches on polished granite/quartz can often be reduced with a stone polishing compound or manufacturer’s repair kit. Deeper scratches or chips usually require epoxy fill, sanding, and repolishing by a professional. For marble, professional honing is often needed to restore the surface.
Semantic Close: How/Why/What/Options/Considerations
Why: Stone is heavy and brittle; improper leverage or dry cutting produces irreversible damage and hazardous respirable crystalline silica exposure. Regulatory bodies (OSHA/NIOSH) require exposure control and written plans in many jurisdictions.
What: Common obstacles include glued joints, undermount sinks, hidden fasteners, and large island slabs. Solutions range from solvent + heat + oscillating blade (glued) to sectioning with wet diamond blades (last resort).
Options (deep): DIY removal for small, unglued pieces; hire pros for island slabs/undermount glued installs; factory removal, pre-cutting is safest. If reusing slabs, consider pro transport and slab stands.
Considerations: Worker safety, silica compliance, waste slurry handling, local disposal codes, and buyer expectations (manufacturers/factories must demonstrate safe fabrication processes to remain competitive). Employ written exposure control plans and use personal protective equipment where required.
50 SEO tags (comma separated)
remove stone countertop, how to remove stone countertop, remove quartz countertop, remove granite countertop with hammer, remove glued countertop, remove countertop without damaging, remove countertop and sink, remove stone countertop from cabinets, remove quartz countertop without breaking, how to remove kitchen countertop, how to remove a countertop that is glued on, remove stain from stone countertop, how to remove superglue from stone countertop, remove stains from white stone countertop, remove rust from stone countertop, remove rust stain from stone countertop, remove permanent marker from stone countertop, how to remove oil stain from stone countertop, remove stains from natural stone countertops, how to remove water stains from stone countertops, how to remove scratches from stone countertops, countertop removal manufacturer, countertop removal factory services, countertop removal wholesale, countertop removal near me, countertop removal DIY, countertop removal safety, countertop dust control silica, silica protection countertop cutting, wet cutting countertop, HEPA vacuum countertop, poultice for stone stains, remove glue from countertop, remove undermount sink, countertop lifting suction cups, preserve countertop for resale, granite scratch repair, quartz repair, marble scratch repair, countertop disposal, countertop recycling, countertop reglaze, countertop sealing, countertop adhesive removal, countertop professional removal, how to pry off countertop, countertop removal tools list, countertop removal step by step, countertop removal checklist, countertop removal regulations, countertop silica compliance.
