

How to Cut Stone Countertop for Sink — Complete Guide (granite, quartz, laminate, installed or in-shop)?
Table of Contents
ToggleCutting a sink hole in a stone countertop is one of the most common — and most delicate — countertop fabrication tasks. Done properly, it yields a clean, supported opening for undermount or drop-in sinks; done poorly, it causes chips, cracked slabs, silica dust hazards, and a costly rework. This guide teaches you how to plan, lay out, and cut the opening — by fabricator methods (CNC/bridge saw shop cuts) and practical field techniques (angle grinder or wet saw) — while prioritizing health and compliance.
1) Shop cut vs. Field cut — which should you choose?
Short answer: Do as much as possible in the shop. Fabricators use CNC routers, bridge saws, and water tables that produce precise shapes, reinforced edges, and controlled waste collection. Shop cuts minimize dust exposure, reduce cracking risk, and give the best aesthetic finish. On-site cuts are feasible for minor modifications or drop-in sinks with a visible lip, but undermount sinks and precision seams should be cut before installation. Many fabricators advise cutting undermount sink openings at the factory for the best results.
When considering costs and timeline, factor in transport and handling of the slab if the shop needs the slab back; for islands or very large slabs, in-field cutting by experienced crews is sometimes necessary.
2) Tools & consumables — what professionals use
Shop equipment (recommended): CNC bridge saw / CNC router, water-cooled diamond blades, polishing stations. These give the cleanest edges and efficient dust/wet slurry control.
Field tools (for installed slabs or small edits):
Angle grinder (4.5″–7″) with continuous rim diamond blade or cup wheel (wet or dry compatible).
7–10″ circular saw or 12″ wet saw with continuous diamond blade (use guard and guide).
Oscillating multi-tool (for delicate caulk/adhesive trim) and jigsaws for laminate.
Diamond-core drill bits for corner plunge holes.
Wet-cut adapter or water feed to reduce dust and cool blades.
Suction cups, clamps, plywood templates, masking tape, straightedge guides.
Consumables: continuous-rim diamond blades (stone/granite), water feed kit, lubricant for metal bits, safety tape, epoxy for repairs, and rodding materials.
Safety PPE: NIOSH-approved respirator when cutting (or powered air-purifying respirator, PAPR for professionals), eye protection, hearing protection, waterproof gloves, and steel-toe boots. See OSHA/NIOSH guidance on silica controls.
3) Templates & layout — measure twice, cut once
A correct cut starts with an accurate template. Use a rigid template material (luan, MDF, or acrylic) that matches the sink profile exactly. If replacing a sink, tracing the old sink or using the manufacturer’s cutout template is standard.
Steps:
Place template on countertop surface; align to cabinet face and plumbing centerlines.
Clamp template so it cannot shift. Use masking tape along cut lines to reduce chipping.
Mark the exact cut line on the stone with a grease pencil; offset marks if you plan to undercut (i.e., cut slightly larger for scribe and final trimming).
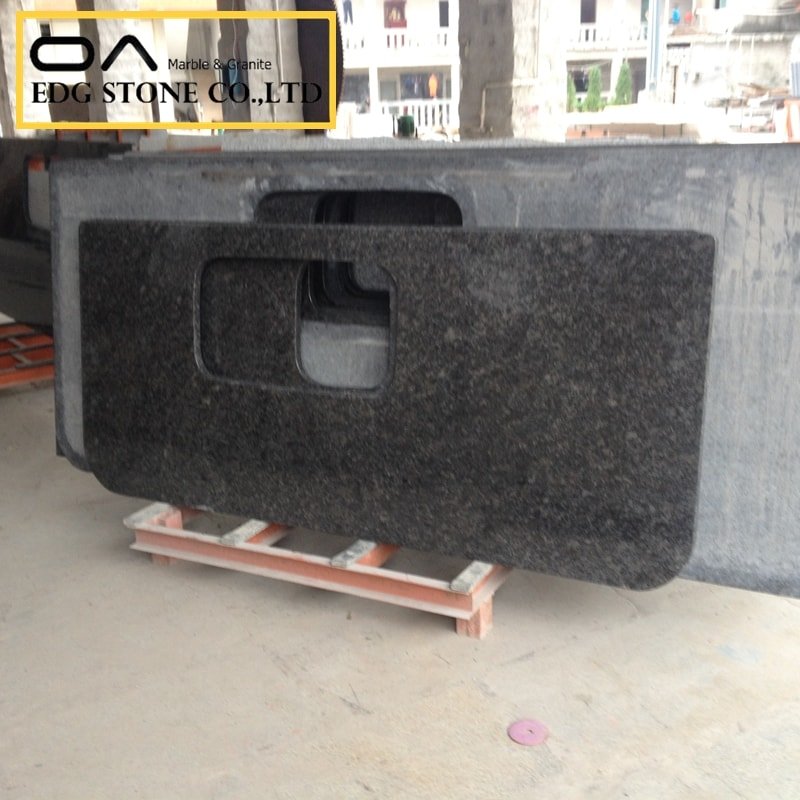
For undermount sinks, plan 1/8″–1/4″ tolerance per manufacturer guidance; allow for clips and sealant. For drop-in sinks, use the lip template.
Pro tip: When measuring on installed countertops, always check cabinet and sink clearances below (pipes, brace members). Take photos and note any hidden obstacles.
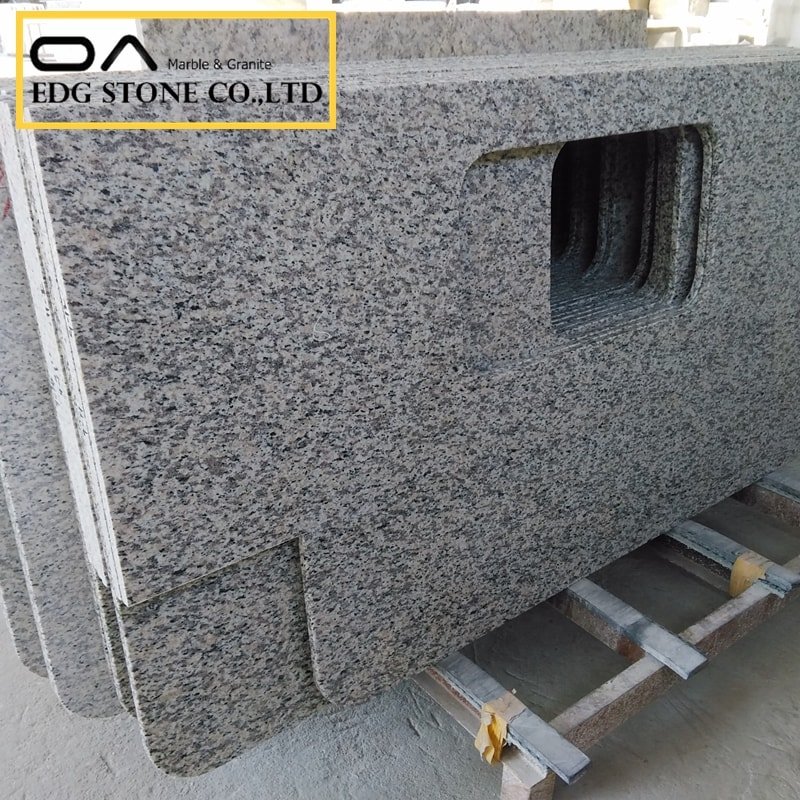
4) Step-by-step: Cutting a sink hole in stone (shop method)
Shop (fabricator/CNC) method — preferred for undermount & large projects
Create an accurate template and scan or place the template in the CNC program. Arrange the cut to maximize vein/flake appearance if applicable.
Use a water-cooled CNC router (or bridge saw) and continuous-rim diamond tooling to cut the opening. Water suppresses dust and cools the blade for a cleaner cut.
Perform rodding or reinforcement at undersides for large spans (metal rod or fiberglass rods installed in a kerf) before final polishing to prevent cracking at weak points. Natural Stone Institute installation standards explain rodding and reinforcement for cutouts.
Polish edges and test fit sink; deliver to site with appropriate edge protection.
This produces the strongest, neatest result and minimizes silica-exposure risks for on-site workers.
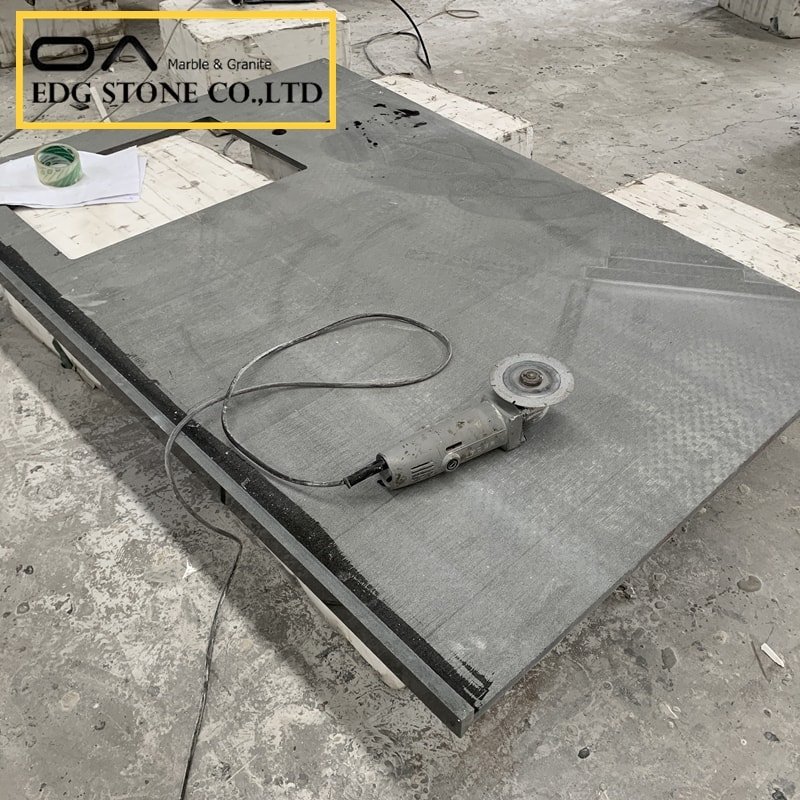
5) Step-by-step: Cutting a sink hole in an installed granite countertop (field method)
Field method (for drop-in or small modifications). Only for experienced DIYers or pros with dust controls.
Preparation:
Turn off the water and disconnect the plumbing under the sink. Clear cabinets.
Create containment: plastic sheeting, run a small negative airflow with a HEPA vacuum if available. Wet methods are preferred to suppress dust.
Procedure:
Mark cut lines with a template and masking tape.
Drill corner reliefs: Using a diamond-core bit or a masonry bit, drill 1–2 holes at each corner of the layout to allow for plunge cuts and reduce stress concentration. For circular sinks, drill holes at start points for the jigsaw/oscillating tool. This prevents the blade from having to start in the middle of the slab.
Make plunge entry: With an angle grinder fitted with a continuous-rim diamond blade (or a circular saw with a wet-cut blade), begin at a drilled corner and slowly cut along the layout. Keep the blade vertical and move at a steady feed — don’t force the tool. Use a water feed if possible.
Complete the cut & finish edges: After cutting the outline, finish the inner edge with a cup wheel or polishing pads, progressing from coarse to fine grits to restore sheen. Clean the slurry frequently. Use a stone polishing compound or diamond pads for the final finish.
Key cautions:
Cutting installed granite requires physical support — don’t let the slab bend or overhang unsupported, or it will crack.
NEVER dry-sweep slurry or dust — respirable silica hazard. Use wet cutting + HEPA vacuum.
6) How to cut granite by hand (detailed)
For a DIYer asking “How to cut granite by hand” (i.e., without CNC), here’s a controlled workflow:
Score & pilot holes: Place masking tape on the cut line and drill 3/8″–1/2″ pilot holes at access points or corners with a diamond-tipped bit (wet drilling recommended).
Rough cut with angle grinder: Use a 4.5″–7″ angle grinder with a continuous-rim diamond blade. Hold a straightedge guide and cut slowly, maintaining steady pressure. For a long straight cut, use a clamped plywood guide as a fence.
Make progressive passes: Don’t try to cut full depth in one pass. Make multiple shallow passes to avoid overheating, chipping, and edge blowout.
Finish edge with cup wheel/pads: Use a diamond cup wheel to level and smooth, then move through 50–2000 grit polishing pads as needed. Add water during polishing.
Remember: Cutting granite by hand is laborious and noisy — if you have access to a water-cooled wet saw to do the main work, you’ll get better, faster results.
7) Dust control and regulatory context — OSHA & NIOSH (non-negotiable)
Cutting or grinding natural stone (granite) and engineered stone releases respirable crystalline silica — a proven cause of silicosis, lung cancer, and other diseases. OSHA’s construction silica standard (29 CFR 1926.1153) requires employers to control exposures using wet methods, local exhaust, HEPA vacuums, or appropriate respirators when controls can’t keep exposures below limits. NIOSH recommends a REL of 0.05 mg/m³ (TWA) for respirable silica, and the stone industry has documented cases of silicosis from fabricated engineered stone work. For any cutting that generates dust, use engineered controls (wet cutting and HEPA) and respiratory protection per OSHA guidance.
Practical controls:
Use wet cutting or a water feed on blades to suppress dust.
Employ a HEPA-filtered shop vacuum attached near the cut to capture slurry.
Use full-face eye protection and a NIOSH-approved respirator (or PAPR for prolonged or high exposure).
Avoid dry sweeping; dispose of slurry responsibly as per local codes. OSHA has published targeted guidance for countertop tasks and employer responsibilities.
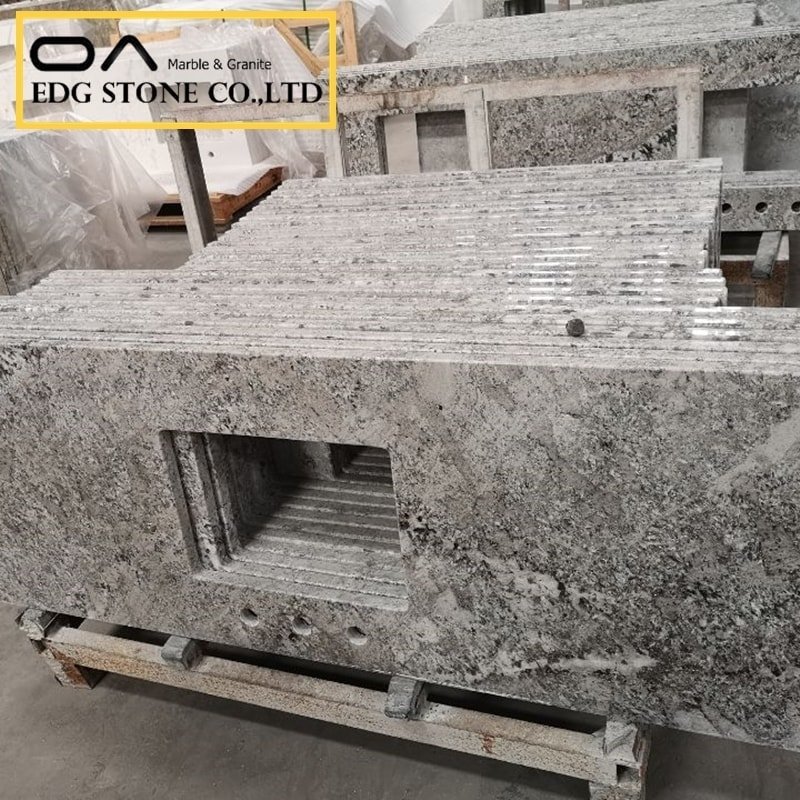
8) Edge finishing, rodding & reinforcement
Large cutouts reduce slab stiffness and create stress points. Industry practice often adds rodding (metal or fiberglass rods placed in a shallow kerf on the underside) or epoxy fillers across seams and cutouts to strengthen the area; the Natural Stone Institute’s installation standards describe these practices. For heavy undermount sinks or cooktops, plan reinforcement to prevent future cracking.
9) Laminate & composite tops
If you have a laminate countertop, use a jigsaw or hole saw to cut the opening. For engineered quartz (which contains polymer binders), treat it like granite for cutting techniques, but note different thermal behavior — avoid overheating and use wet cutting where possible. For laminate over stone substrates (e.g., laminate over MDF), follow laminate tool guidance.
10) Troubleshooting & repair
Small chips: use color-matched epoxy or resin filler; sand and polish.
Cracked or split slab: often requires sectioning and bonding with epoxy and fiberglass reinforcement; consult a professional.
Hazy polishing: progress through diamond pads to restore gloss or hire a polisher.
Silica exposure concern: consult OSHA/NIOSH resources and seek medical evaluation if you suspect overexposure.
Semantic Close: How / Why / What / Options / Considerations
Why: Stone is brittle and heavy — precision shop cuts avoid stress cracks and produce a polished edge; wet cutting reduces respirable crystalline silica risk and keeps workspaces clean. OSHA/NIOSH set clear controls for silica exposure that installers must follow.
What: Tools range from CNC routers and wet bridge saws (shop) to angle grinders and wet circular saws (field). Always use diamond tooling, progressive cuts, and proper PPE.
Options: Shop cut + on-site install (recommended) | On-site cut by pro with wet methods | DIY field cut for drop-in sink (limited use). When buying from a manufacturer/factory, request pre-fabricated sink cutouts to avoid on-site risk.
Considerations: Worker safety (silica control), slab handling/lifting, reinforcement (rodding), and local disposal rules for slurry. For manufacturers/factories, compliance documentation and safe fabrication processes increasingly influence purchasing decisions from pro buyers and wholesalers.
FAQ — Top 5 Google search queries
Q1: Can you cut granite countertops after they are installed?
A1: Yes — but it’s riskier than shoplifting. Field cutting is feasible for small drop-in sink modifications or simple trims if you use diamond blades, wet cutting, drilled corner reliefs, and strong support for the slab. For undermount sinks and precision work, shop-cutting (CNC/bridge saw) is strongly recommended.
Q2: How do you cut a sinkhole in granite by hand?
A2: Make a rigid template, clamp it in place, drill corner relief holes with diamond bits, then use an angle grinder with a continuous diamond blade to make multiple shallow passes along the line; finish with diamond cup wheels and polishing pads. Keep the cut wet and use appropriate PPE.
Q3: What tools are best for cutting ga ranite countertop for a sink?
A3: In-shop: CNC router or bridge saw with water table and continuous-rim diamond tooling. Field: angle grinder or circular saw with diamond blade, diamond core bits for corner holes, and a cup wheel or polishing pads for finishing. Use wet cutting and HEPA dust capture.
Q4: How to cut a laminate kitchen countertop with a sink cutout?
A4: Use the manufacturer’s sink template, score the laminate, and cut with a jigsaw fitted with a fine-tooth blade (or router). Clamp a guide and cut from the underside to reduce chipping at the top surface. Laminate is far easier and safer to cut than stone.
Q5: Is it safe to cut engineered quartz with a grinder?
A5: Engineered quartz contains high crystalline silica content. Cutting with a grinder is possible, but must be done with wet cutting and HEPA capture; otherwise, it poses a serious silicosis risk. Follow OSHA/NIOSH controls and, whenever possible, have engineered quartz cut at a properly equipped fabricator.
Long-tails & Tags
3–5 long-tail / purchase-intent keywords (B2B/manufacturer/factory):
factory cut granite countertop sink template service (purchase intent)
manufacturer pre-cut sink openings for countertops wholesale
cut granite countertop for undermount sink shop vs field (informational + commercial)
How to cut engineered quartz sink opening safely manufacturer guidance
on-site countertop cutting service near me, factory installer
50 SEO tags (comma separated):
cut stone countertop for sink, how to cut granite countertop, how to cut granite by hand, can you cut granite countertops after they are installed, cutting countertop for new sink, granite cutting tools, trimming granite countertop for new stove, laminate kitchen countertop with sink cutout, how to cut granite with a grinder, cut quartz countertop for sink, sink cutout template, CNC countertop cut, bridge saw sink cut, wet cutting granite, diamond blade granite, corner relief for sink hole, drill sink hole granite, rodding sink cutout, reinforced sink cutout, countertop factory pre-cut, countertop manufacturer sink cut service, wholesale countertop cutting, stone countertop cutting safety, silica dust countertop cutting, OSHA silica countertop, NIOSH countertop silica, HEPA vacuum countertop, diamond core bit sink hole, cup wheel polishing granite, angle grinder cut granite, circular saw cut granite, installed countertop sink cut, drop-in sink cut granite, undermount sink cut granite, quartz sink cut safety, engineered stone sink cut, countertop slab cutting, countertop template guide, countertop edge finishing, repair granite chip, epoxy filler granite, laminate sink cut jigsaw, router sink cut laminate, professional countertop cutter, countertop cutting checklist, countertop cutting guide 2025, countertop cutting regulations, countertop cutting best practices, sink cutout tips, how to finish cut granite.